3.5 How to setup a Federated Validating plan? (PI)
(Robert)
This page shows how to setup a Federated Validation (FV) plan.
Before you begin
- You must invite participants to join the Federated Validation project before setting up a FV plan: Chapter 2.2 - How to invite partners to join my FV project
- Push AI model image
- Upload the AI model validating weights
1. To setup the FV plan, login to Aggregator dashboard and click the corresponding FV project.

2. Click "Create Validation Plan" button

3. Fill out the basic configuration and click "Next"

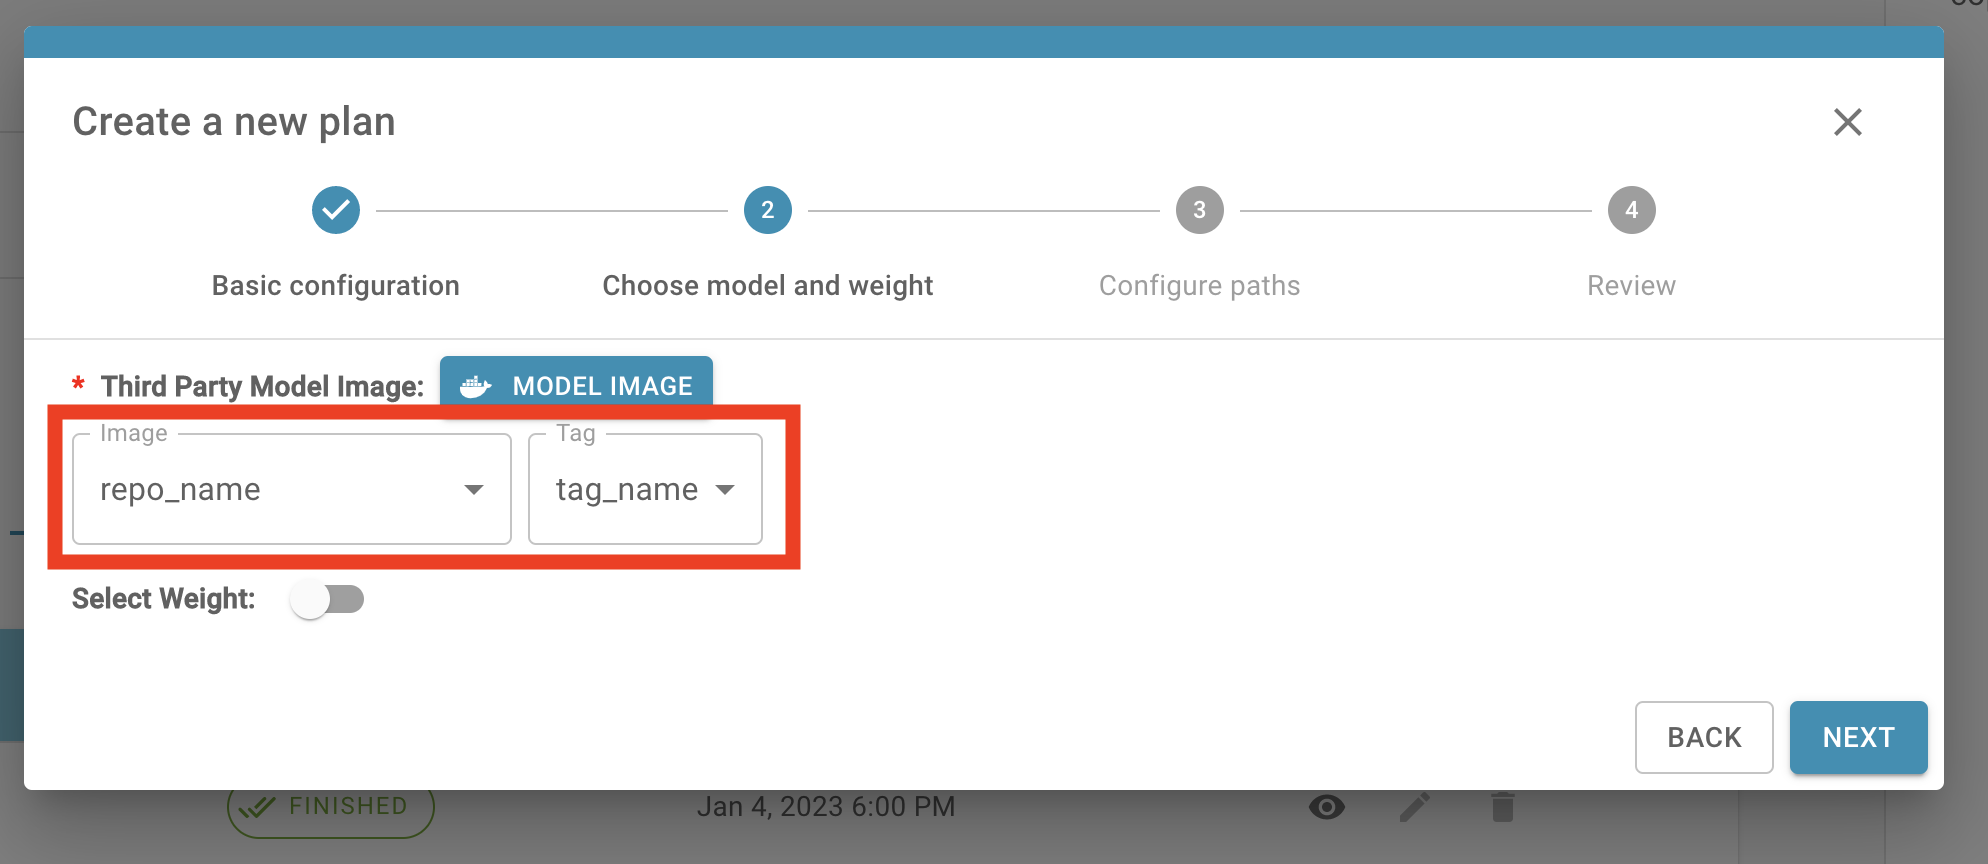
4. Select the validation model image. If there is no option in the drop down list, check out here to push AI model image.

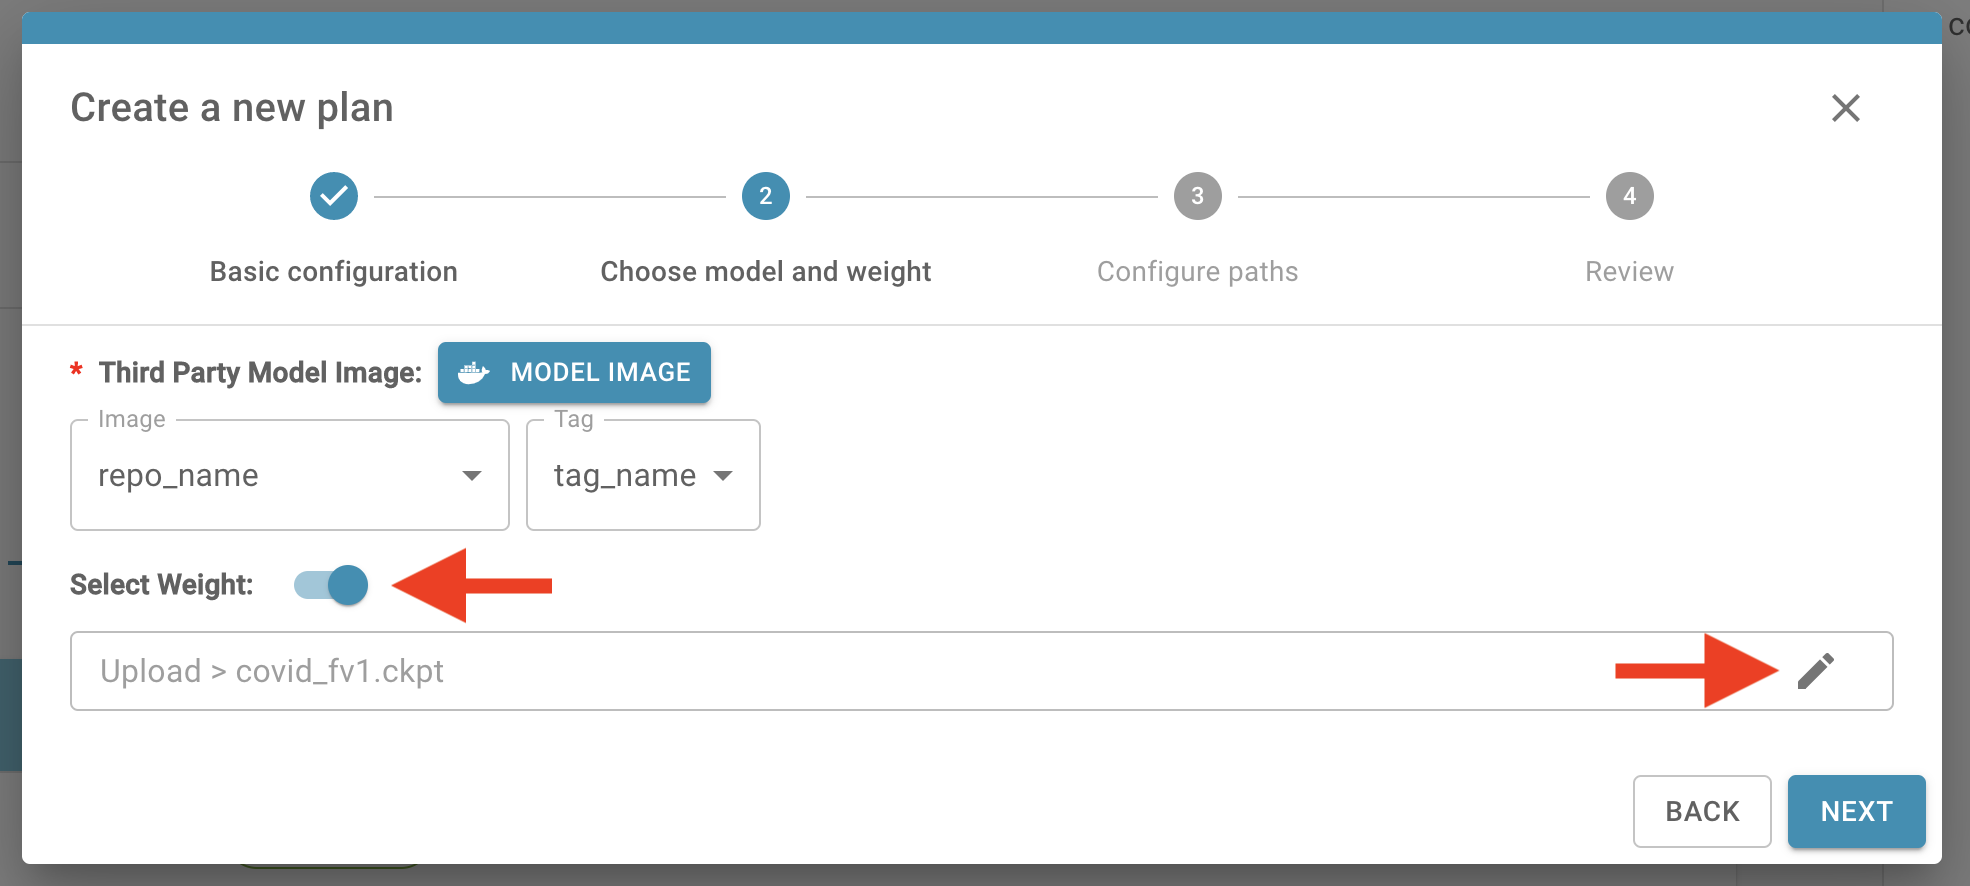
5. Select the model weight that is about to be validated. If there is no weight in the list, check out here to upload weight.

6. Configure paths: the developer should configure the 4 paths as they want. (以下四個path須由開發者設定)
Dath Path : where the uploaded dataset will be unpacked in. (Dath Path 為開發者資料集被放置的位置,當開發者上傳資料集,會被解壓縮到開發者指定的這個路徑)
Model Weight Path : where the developer will place their model weight in. (Model Weight Path 為開發者放置model weight path 的位置,當開發者上傳model weight,會被放到開發者指定的這個路徑)
Output Path : where the developer will output result.json and their customized stuff in.(Output Path 為開發者輸出result.json的位置,當開發者做完FV,會產出一個result.json,須要放到這個開發者可自行設定的路徑,我們系統才能將之收集,同時自定義的log或其他東西也可以輸出到這個路徑)
Log Path : where the developer should output progress.json and error.log if errors happens. (Log Path 為開發者輸出progress.json的位置或者當錯誤發生須產出error.json,開發者可自行設定會輸出到哪個路徑底下,系統會到該路徑收集progress.json以及error.log)

7. After finishing the forms above, you can review the plan settings. If it looks good, click "Create" button to create the plan.

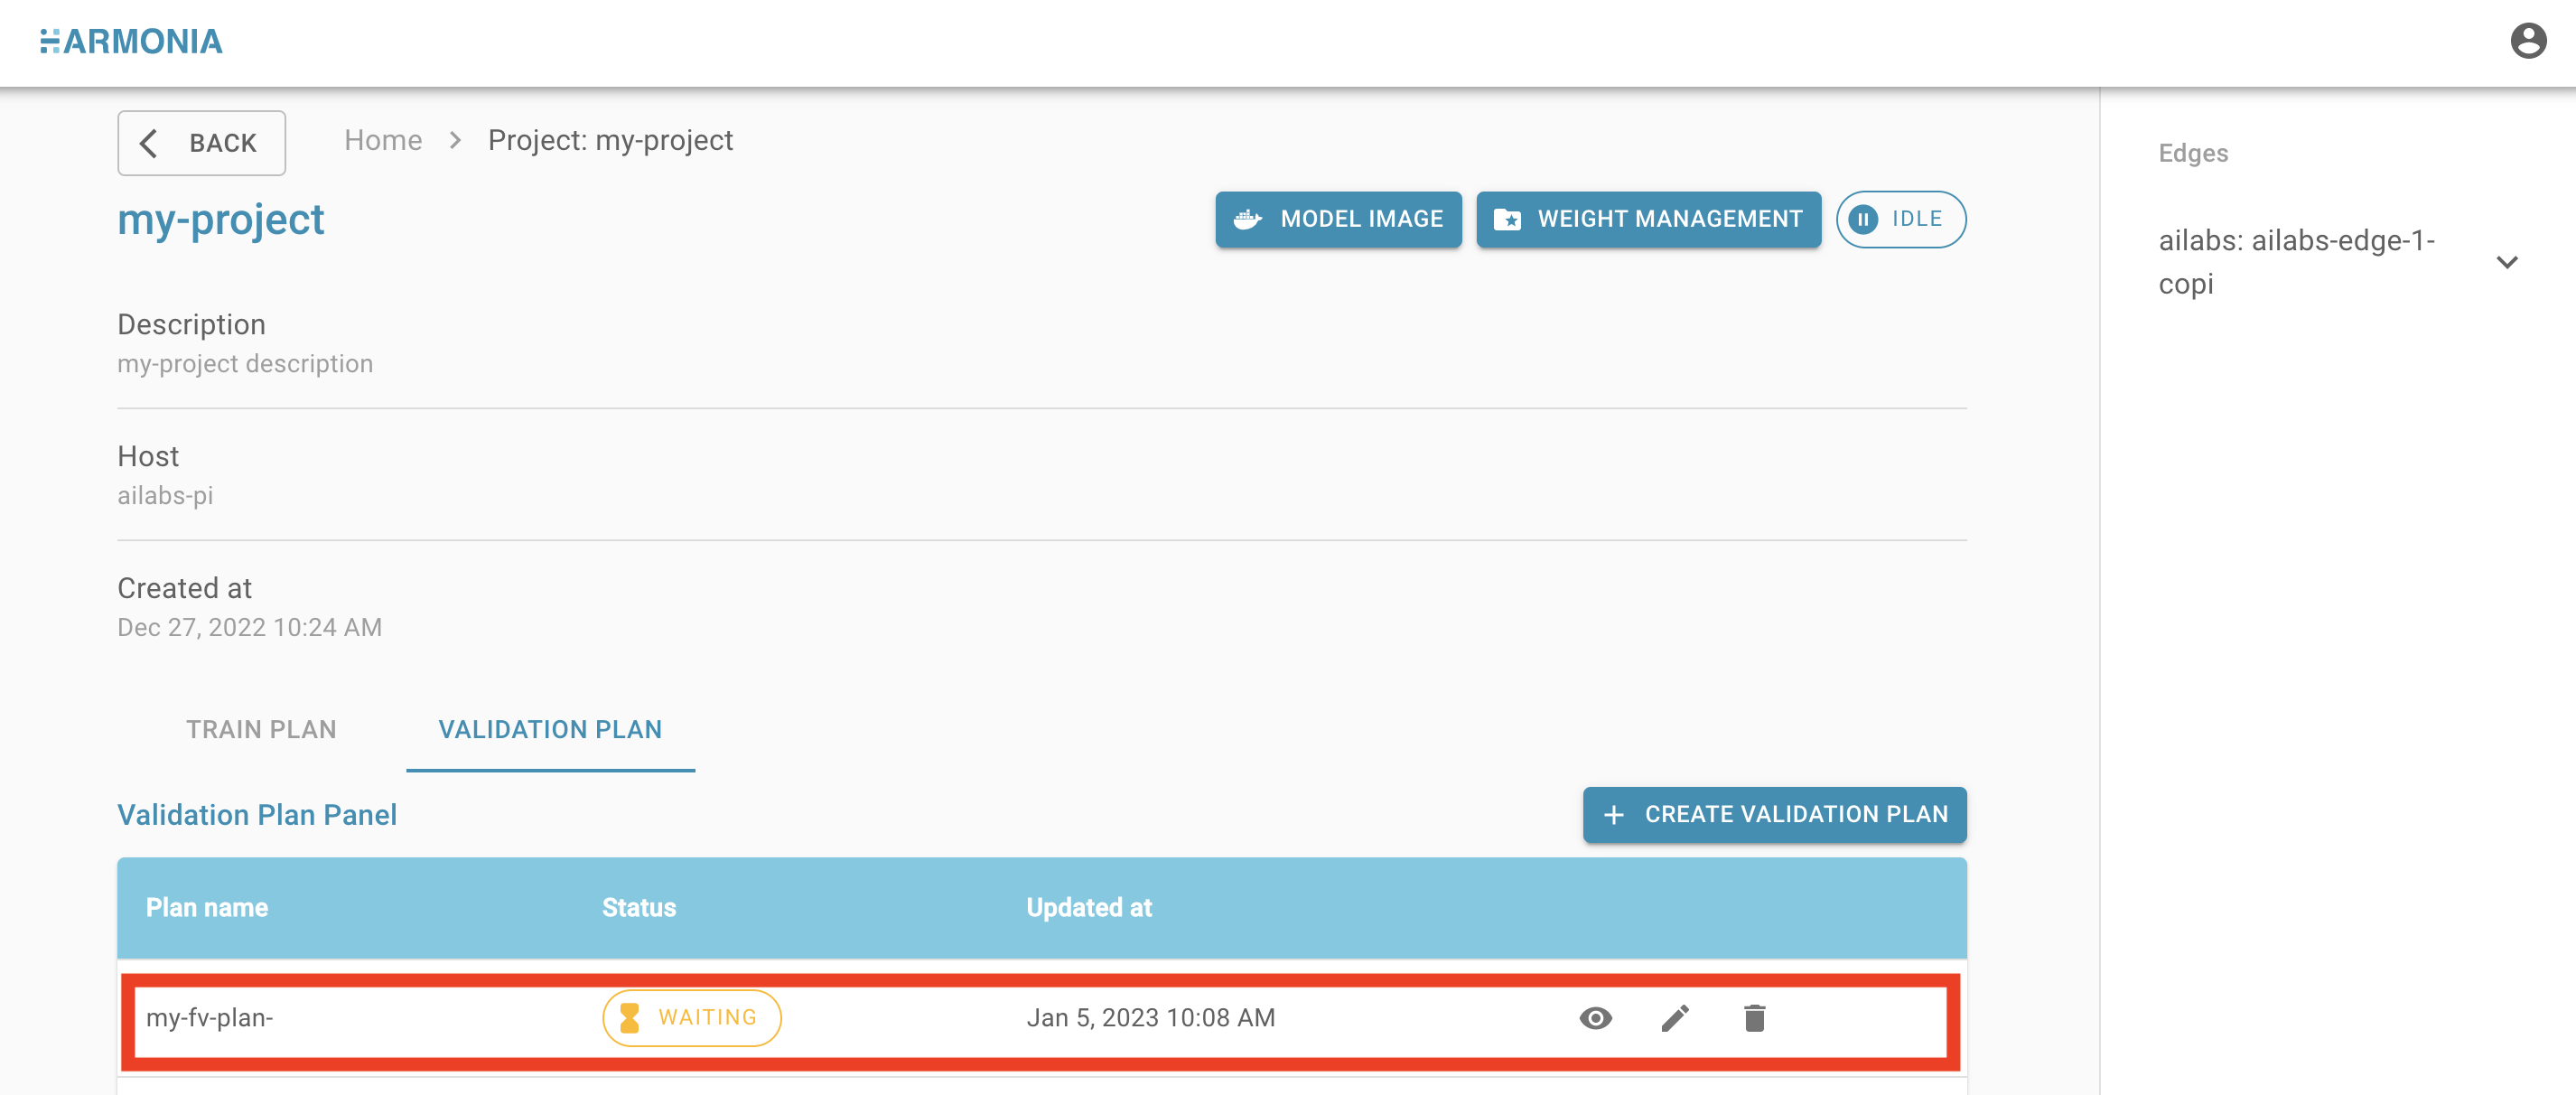
8. The created plan can be found in Validation Plan Panel

You have created a FV plan !